
Build your website footer
Your footer is the quiet workhorse at the bottom of every page — it carries your logo, the links people reach for when they've scrolled to the end, your social profiles, and your legal notices. Like the navigation bar, it's shared across your whole site, so you set it once and it appears everywhere you place it. This is an owner-and-admin task: community managers and agents cannot edit the website.
Open the footer editor
- Open the full-screen website editor for your community (see Open the website editor).
- In the left icon rail, click Nav & footer.
- At the top of the panel, switch to the Footer sub-tab.
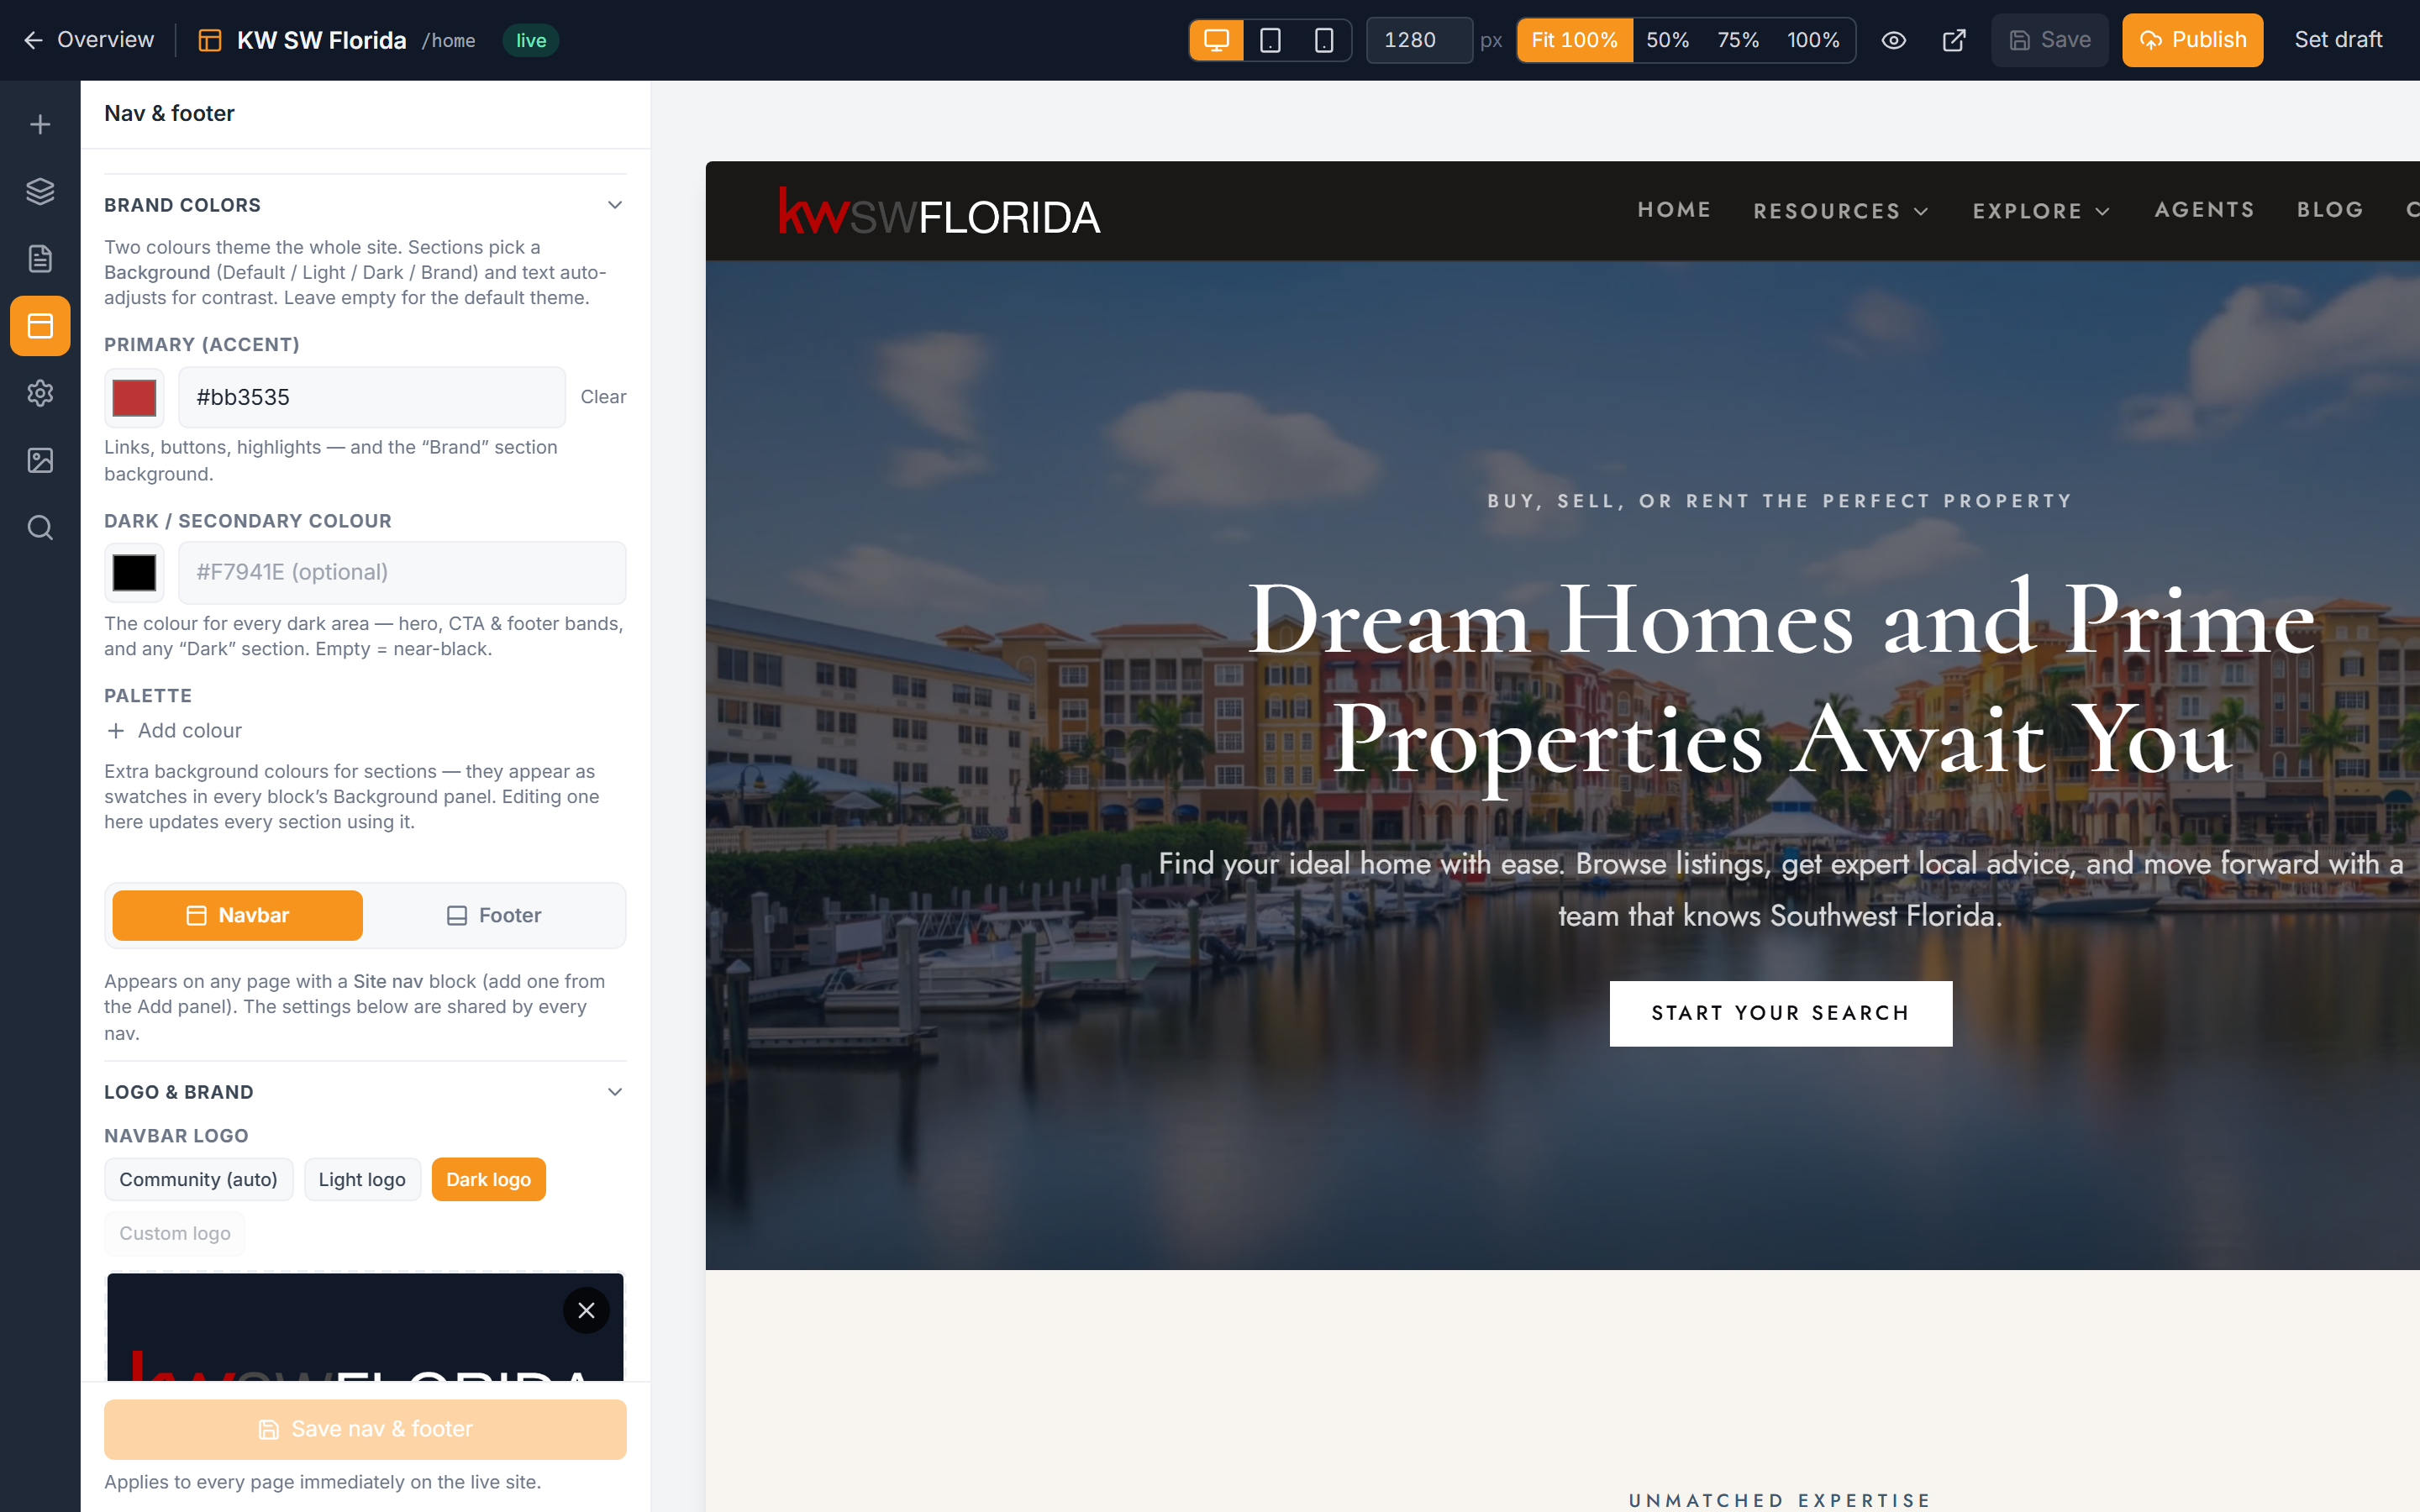
The footer and navigation share this panel but save independently, so nothing you do to the footer touches your nav. For the top-of-page menu, see Set up site navigation.
Set the logo and brand
The Logo & brand section controls how your identity appears at the top of the footer.
- Upload or choose your footer logo. This is independent of the navbar logo — you can use a different mark here if you like.
- Adjust the logo size to fit the footer band.
- Choose the logo colour: Auto, Light, or Dark. The footer defaults to a dark band, so the light logo usually reads best. If you switch to a light footer scheme, pick the logo colour that contrasts with it.
- Optionally add brand text next to or under the logo, plus a short blurb — a sentence describing your community.
Add link columns
Footers organize links into stacked columns. Any links that share the same Group heading stack together into one column.
- In the Link columns section, optionally turn on the option to repeat your menu pages as a column — this mirrors your main navigation at the bottom of the page.
- Add custom columns for anything else: resources, contact info, or grouped page links.
- Give the links in each column the same Group heading, and they'll stack under that heading as one column.
Add social links
The Social links section offers a fixed set of networks. Fill in only the ones you use.
- For each network you want to show — Facebook, Instagram, LinkedIn, YouTube, or TikTok — paste the full profile URL.
- Leave the rest blank. Only networks with a URL appear as icons.
Add a call-to-action button
The footer supports one CTA.
- In the Button section, set the button label and where it links.
- Use it for your single most important action — booking a call, joining, or contacting you.
For more on writing effective buttons, see Calls to action.
Set legal and copyright
The Legal & copyright section holds the fine print.
- Enter your copyright line (for example, your community name and the year).
- Add any legal links — for instance, a link to your privacy policy at /legal/privacy or your terms.
Save and show the footer
- Click Save nav & footer. Footer changes go live instantly — there's no separate publish step for the footer.
- Make sure each page that should show the footer has a Site footer block on it. The footer only appears on pages that include this block; a page without it will have no footer at all.
Troubleshooting
My footer isn't showing on a page
The footer only renders where a Site footer block is placed. Open that page in the editor and confirm it has a Site footer block. Add one to any page that's missing its footer.
My footer logo is hard to read
The footer defaults to a dark band. Set the logo colour to Light (or Auto) so it contrasts with the dark background. If you've switched the footer to a light scheme, use the Dark logo instead.
A social icon didn't appear
Only networks with a URL filled in show up. Double-check you pasted the full profile URL into that network's field and saved.
My links didn't group into one column
Links stack into a shared column only when they have the same Group heading. Give every link you want together the exact same group name, then click Save nav & footer.